Can we put our cards on the table for a minute? There’s no getting around the fact that when you hit, oh…say, 50-ish, things don’t look quite the same in the mirror. But they’re not supposed to: Loss of collagen means less elasticity in your skin; lines are a bit more deeply etched; the eyelids may droop (especially after 7:00 p.m.—still a complete puzzle); and lip contours often fade.
On the one hand, we need to make peace with our maturing selves and embrace wisdom and time.
On the one hand, we need to make peace with our maturing selves and embrace wisdom and time. On the other hand, I can’t get Dolly Parton’s Steel Magnolias voice out of my head, circa 1989, saying, “There’s no such thing as natural beauty.”
As a makeup junkie, I’m going with Dolly on this one: The right beauty products, artfully applied, can create a look that fools the eye, enhances the right features, and brings on a smile when you catch yourself in a mirror. Here are products, tips, and tricks that deliver a near-perfect complexion (even if you don’t have one).
Step 1: Exfoliate
As we age, that coveted, rosy, plump skin (the kind celebrities try to recapture with injectables—often, poorly) gets exchanged for a much different complexion. Mature skin tends to be drier, and skin turnover starts to dwindle, which means the cells don’t slough off as frequently or as easily, leaving many of us with a sort of dull, colorless facade.
The big benefit is that you’re starting your makeup routine with a smooth canvas, not a rough road.
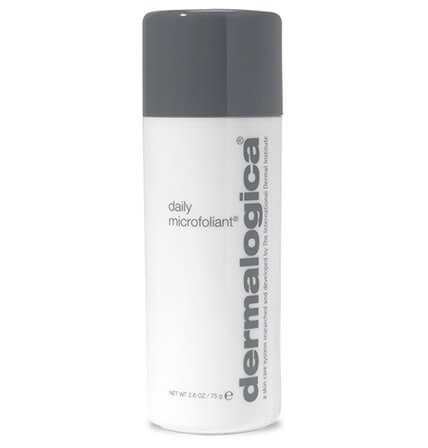
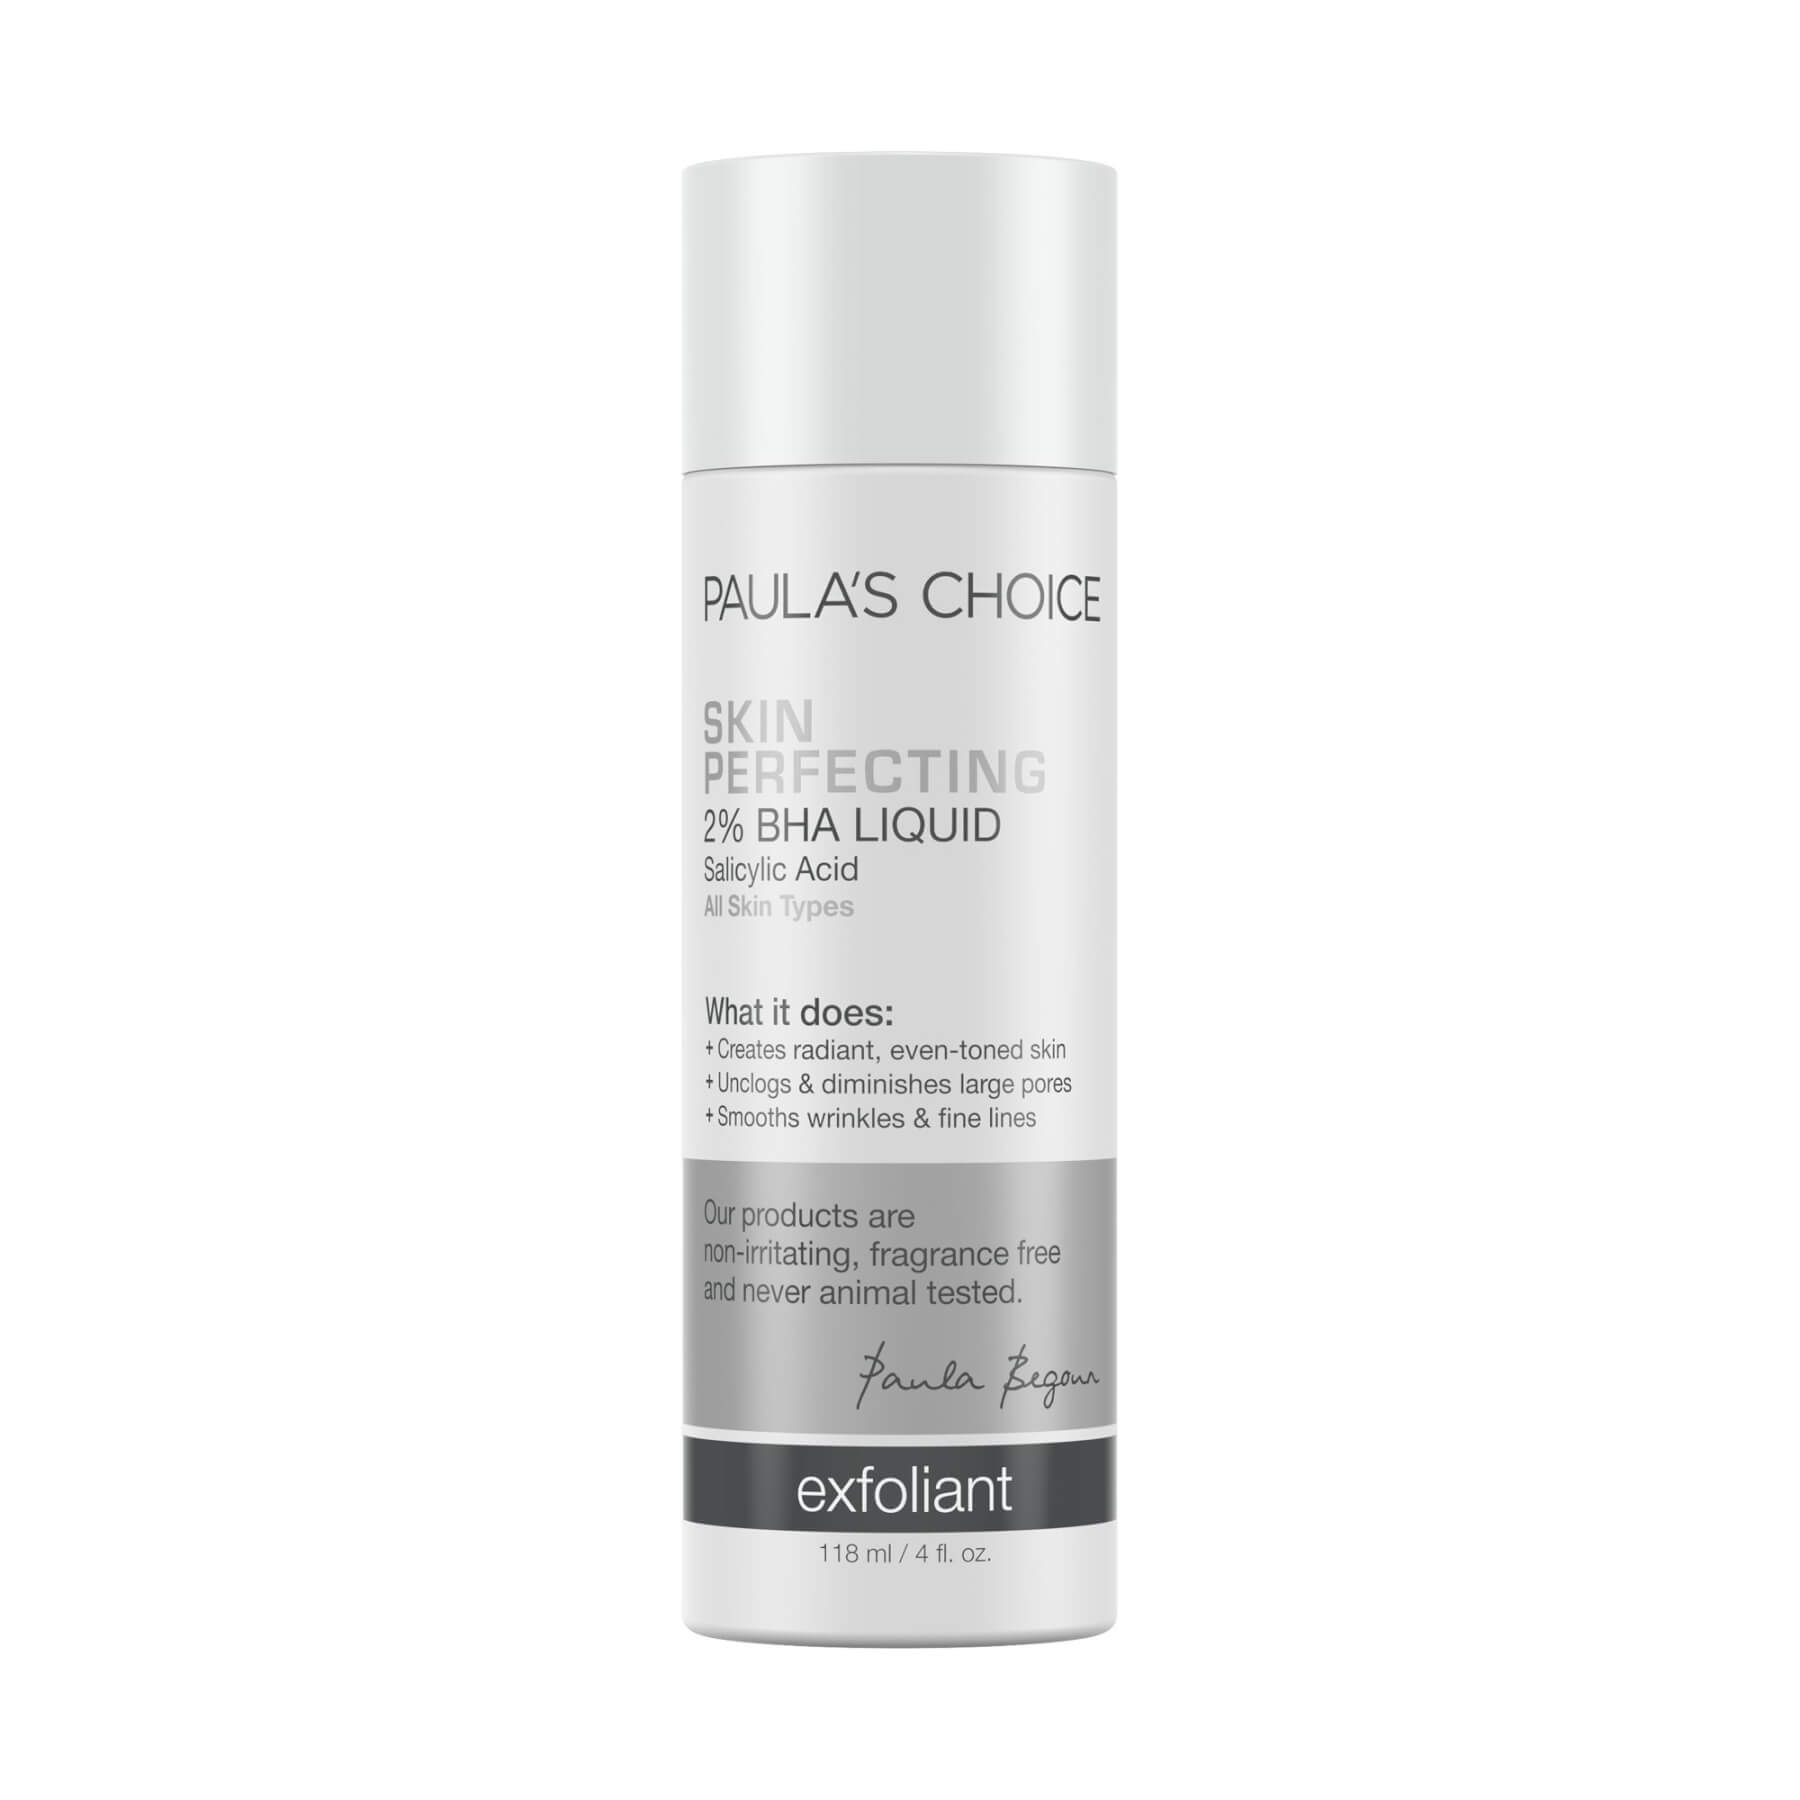
Exfoliating is the answer, and there are two ways to go here. Mechanical exfoliation is the time-honored method of scrubbing the skin to release those dead cells with, say, a terry washcloth, a Clarisonic gizmo, or a cleanser packed with scrubby granules. Chemical exfoliation uses high-powered ingredients to pump up cell turnover (hydroxy acids, retinol, enzymes), so you can exfoliate those superficial epidermal layers with minimal abrasion. Either way you go, the big benefit is that you’re starting your makeup routine with a smooth canvas, not a rough road.
Products to try:
Step 2: Prime
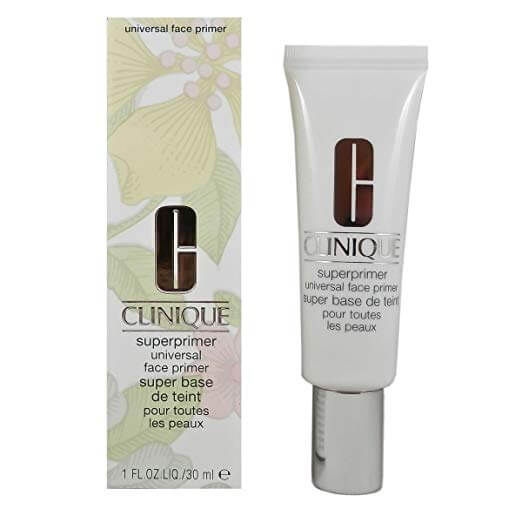
Applying primer to your skin is not unlike putting a coat of polyurethane on a really good wood floor: it becomes smooth (like, Tom Cruise-in-Risky-Business-sock-slide smooth) and seems to blur imperfections, visible pores, and even—on occasion—fine lines. Some feel like slick silicone; others are creamy and less “adhesive.” But the primers that make the most sense for anyone over 50 are labeled “anti-aging” (even though we don’t like that word) because, God bless them, they throw in a host of goodies to keep things from getting worse, like SPF, moisturizers, antioxidants, and soothing ingredients.
Product to try:
Step 3: Lay the foundation
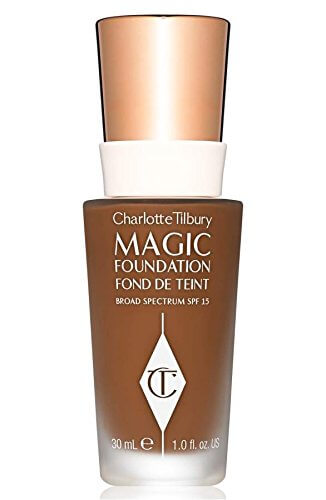
Unlike a house, you don’t need to cover the whole lot. Foundation disguises imperfections and discoloration, and it should seamlessly blend with your own skin. So whether you brush, sponge, or fingertip it on, start in the middle of your face (nose area, apples of the cheeks, chin…the places pores are most visible) and move subtly outward, using less and less product as you go. Then blend like a madwoman. Big bonus here: You’ll avoid that dreaded line of demarcation around the jawline—which doesn’t give away your age but does tell the world that you suck at makeup.
Product to try:
Tip: Use a fine brush and a good, thick concealer, then blot gently and blend.
Step 4: Conceal
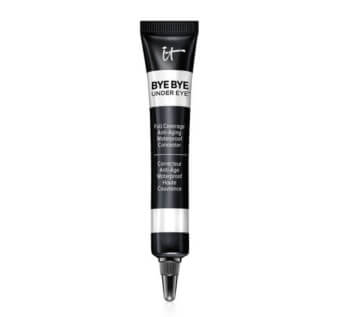
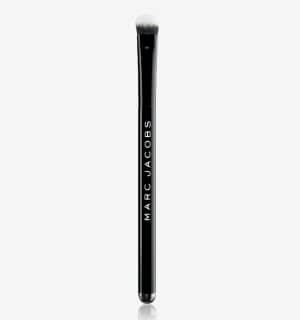
Yep, it comes AFTER the foundation. Want to know why? (Rhetorical question.) Because if you conceal first, then all the rubbing that goes on during the foundation application just moves said concealer off its perch, where it’s mightily trying to cling to those sunspots and redness. Reverse the order and you’ll be able to see exactly what’s left to conceal, focusing only on those peekaboo areas. Tip: Use a fine brush and a good, thick concealer (don’t worry about whether they’re marketed as under-eye or face), then blot gently and blend.
Products to try:
Step 5: Nix the shine
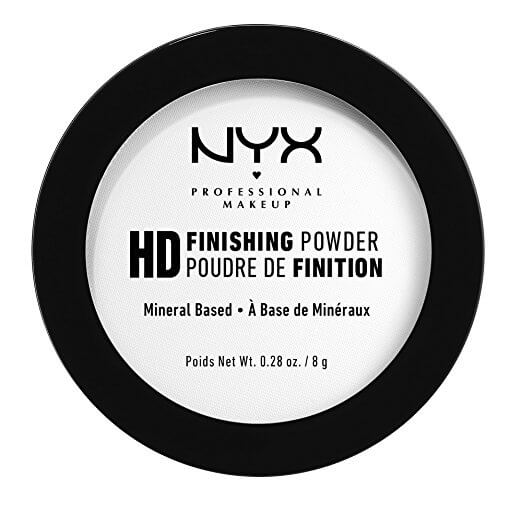
Those glowy illuminators might give a 20-year-old the look of sweetly sun-kissed skin, but for the rest of us, they have a habit of undoing all the strategic spackle work. Which is not to say that you should powder up like a little old lady, just give the lightest pass of translucent HD (for high definition) powder over your face with a fluffy brush. Instant airbrushing, if you will.
Product to try:
If you’ve never been a liner girl, it’s time to get on board.
Step 6: Bring back the lips
We may like ’em lush, full, and rosy, but time has a way of deflating the lips like a Patriots’ football. In fact, our poor pouts get hit twice: Not only do they experience shrinkage due to lack of collagen production, but, even worse, the color tends to fade, especially around the lip line. That line is known as the “Vermillion Border” (really, I couldn’t make this stuff up), which is a fancy word for RED or PINK. Basically, you end up with thin, pale lips that have no distinct outline and tend to disappear on your face. Lovely.
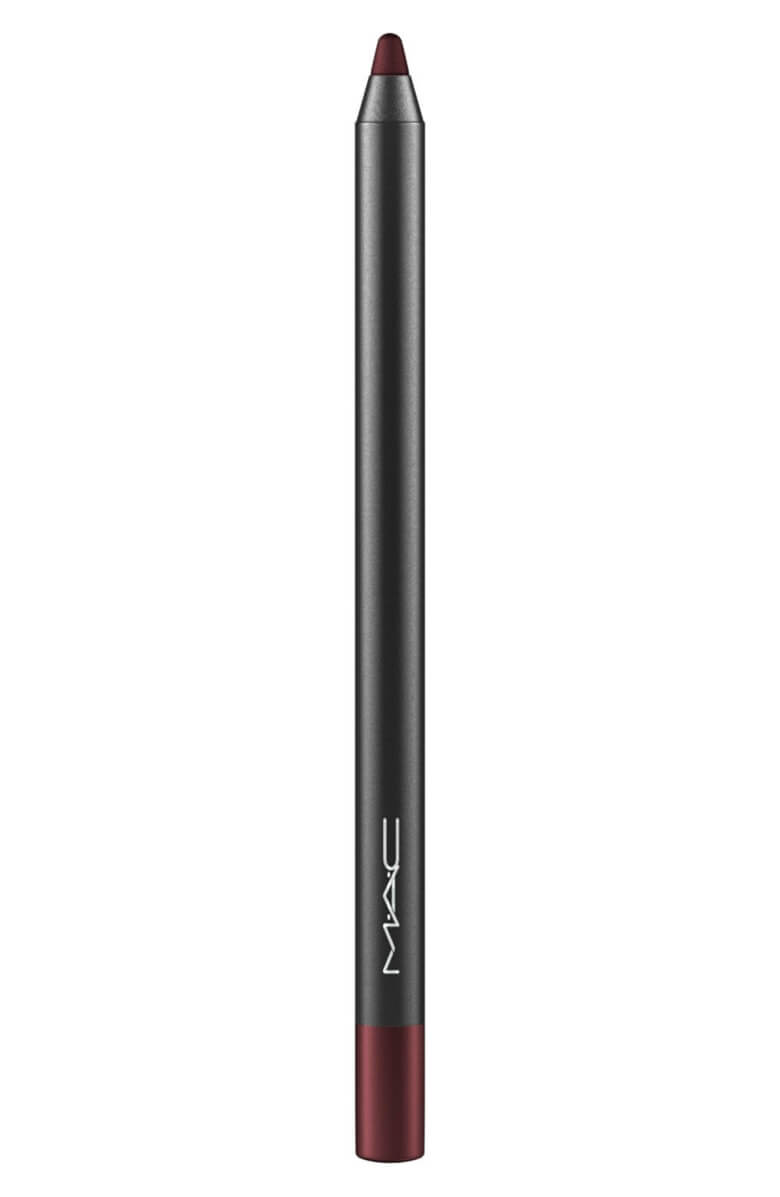
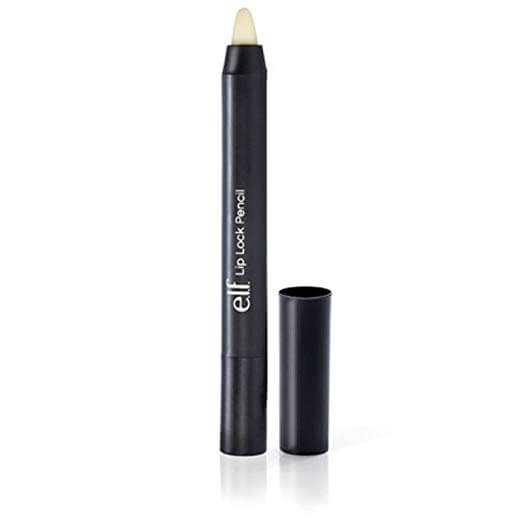
If you’ve never been a liner girl, it’s time to get on board. Start with a waxy primer pencil, which creates a barrier so lipstick and liner don’t migrate into fine lines. Then, draw your mouth with a colored liner that’s not-too-creamy and is long-lasting…because when you put your money where your mouth is, it had better stay put.
Products to try:
***
Hillary Quinn has worked as an editor at various magazines in New York and is a well-known beauty and lifestyle writer. Her work has appeared in Elle, Cosmo, Bride’s, Good Housekeeping, and many other publications and websites.














0 Comments